Introduction
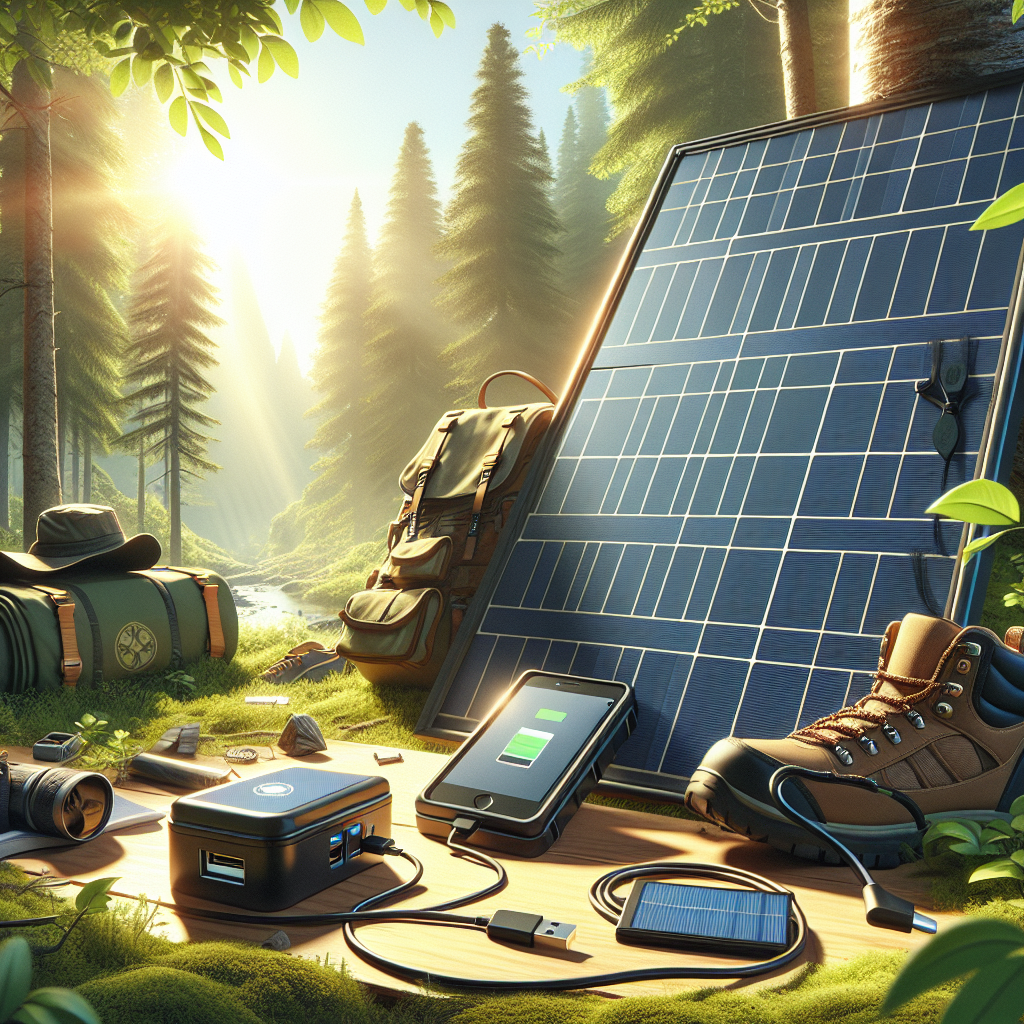
For preppers, staying connected in a grid-down scenario is not just convenient—it’s essential. Having a reliable source of power can make the difference between maintaining access to critical information and being completely cut off. Whether you’re an outdoor enthusiast, a digital nomad, or someone aiming to reduce dependence on conventional power sources, a portable USB solar setup can be a game-changer. This guide will walk you through the steps to calculate your power needs and select the best gear for your portable solar setup.
Step 1: Determine Your Power Requirements
Before you purchase any solar panels or battery packs, it’s crucial to calculate how much power you’ll need. Let’s start with a basic example: a smartphone. To fast charge a smartphone, you typically need 15 watts of power. If it takes three hours to fully charge, that totals to 45 watt-hours (Wh) per day. This 45 Wh is your baseline power requirement for a single day.
Step 2: Choose the Right Solar Panel
Solar panels are rated by their wattage, but real-world output can vary, especially in less-than-ideal conditions. For instance, a 30-watt panel might only deliver 50% of its rated output during winter. To meet the 45 Wh/day requirement for your phone, you’ll need a panel that can consistently generate that amount of power. Assuming you get about 6 hours of full sun every two days, a 30-watt panel should suffice, as it would provide 45 Wh over that period. The math is simple: 30 watts x 50% efficiency = 15 watts, and 15 watts x 6 hours = 45 Wh. Here is a suggestion for which solar panel might exceed these specifications.
Step 3: Account for Storage Needs
Since sunlight isn’t always available when you need it, you’ll want a battery to store energy. To ensure you can charge your device even on cloudy days, it’s best to store at least two days’ worth of power. For our example, that means storing 90 Wh. Lithium iron phosphate (LiFePO4) batteries, which are about 90% efficient with solar charging, would require a 100 Wh battery pack to cover your needs. Here is a suggestion for which battery pack you might want to use.
Thats all you really need to keep a light and a phone running.
Expanding for Additional Devices
If you plan to power more than just a smartphone—say a laptop or multiple devices—you’ll need more power. In such cases, consider a 100-watt or even a 200-watt solar panel, paired with a larger battery. A good option is the foldable 100-watt panel by Nicesolar, which is versatile and features USB-C ports for added convenience but was out of stock when i checked.
Optimize Your Setup using USB-C Technology
USB-C panels are becoming increasingly popular due to their efficiency, especially when paired with USB-C battery banks. These setups automatically adjust the charging speed based on available sunlight, ensuring optimal power usage. A great option is a USB-C compatible panel, which pairs well with a battery bank that allows you to control the charge rate via an app. Both linked above
Conclusion
Setting up a portable USB solar system may seem complex at first, but with the right calculations and gear, it’s easier than you think. Once set up, you’ll have a reliable power source to keep your devices charged, no matter where you are. Whether you’re charging a phone or a laptop, this guide provides the foundation to scale your setup to meet your specific needs.
